


Hi, I am Nyoman Sunima, a product designer and full-stack developer in Bali, Indonesia. In this article, we will discuss and start sharing my experiences while creating a README file for the project on GitHub, GitLab, or Bitbucket. Then we will discuss and share some tips that may help you get inspiration while creating a better README file. Ok, with that said, let's get started.
Why is README so essential?
If you're exploring a public repository, no matter if it's on GitHub or GitLab, you will find so many out there that always have a README file. Why? As the name suggests, this file will be read by another visitor while visiting and contributing to your project.
So when they navigate to your project, the first thing they will see is the README file. Creating a good README can help your contributors, visitors, and users understand exactly what your project is.
Understanding your target audience
In my experience, when creating a readme, the first thing I should consider is my target audience. No matter how good your project is, if you can't communicate with your users, it will be nothing.
There are two types of user repositories in general that could use your project.
Technical People, Work as an engineer, developer, scientist, or other technical skill.
Non-technical people work as marketers, content writers, and others.
If your project is about dependencies, packages, SDKs, APIs, etc., you will need to create a README for technical people. However, if your project is just about sharing files, content, and other things, you may not need technical instructions. So now let's do a deep dive and discuss the main topic in the next part.
Adding a banner or logo
When I publish my repository to the public, the first thing I need to do is create some icons or a logo for the project. There is no need to be perfect; at least show the project's identity. This can be a logo or banner that is placed at the top of your readme file.
When I start my readme, I realize that having a banner or logo will make my repository better and more attractive. Below, you can see the difference between using a banner or logo and not.
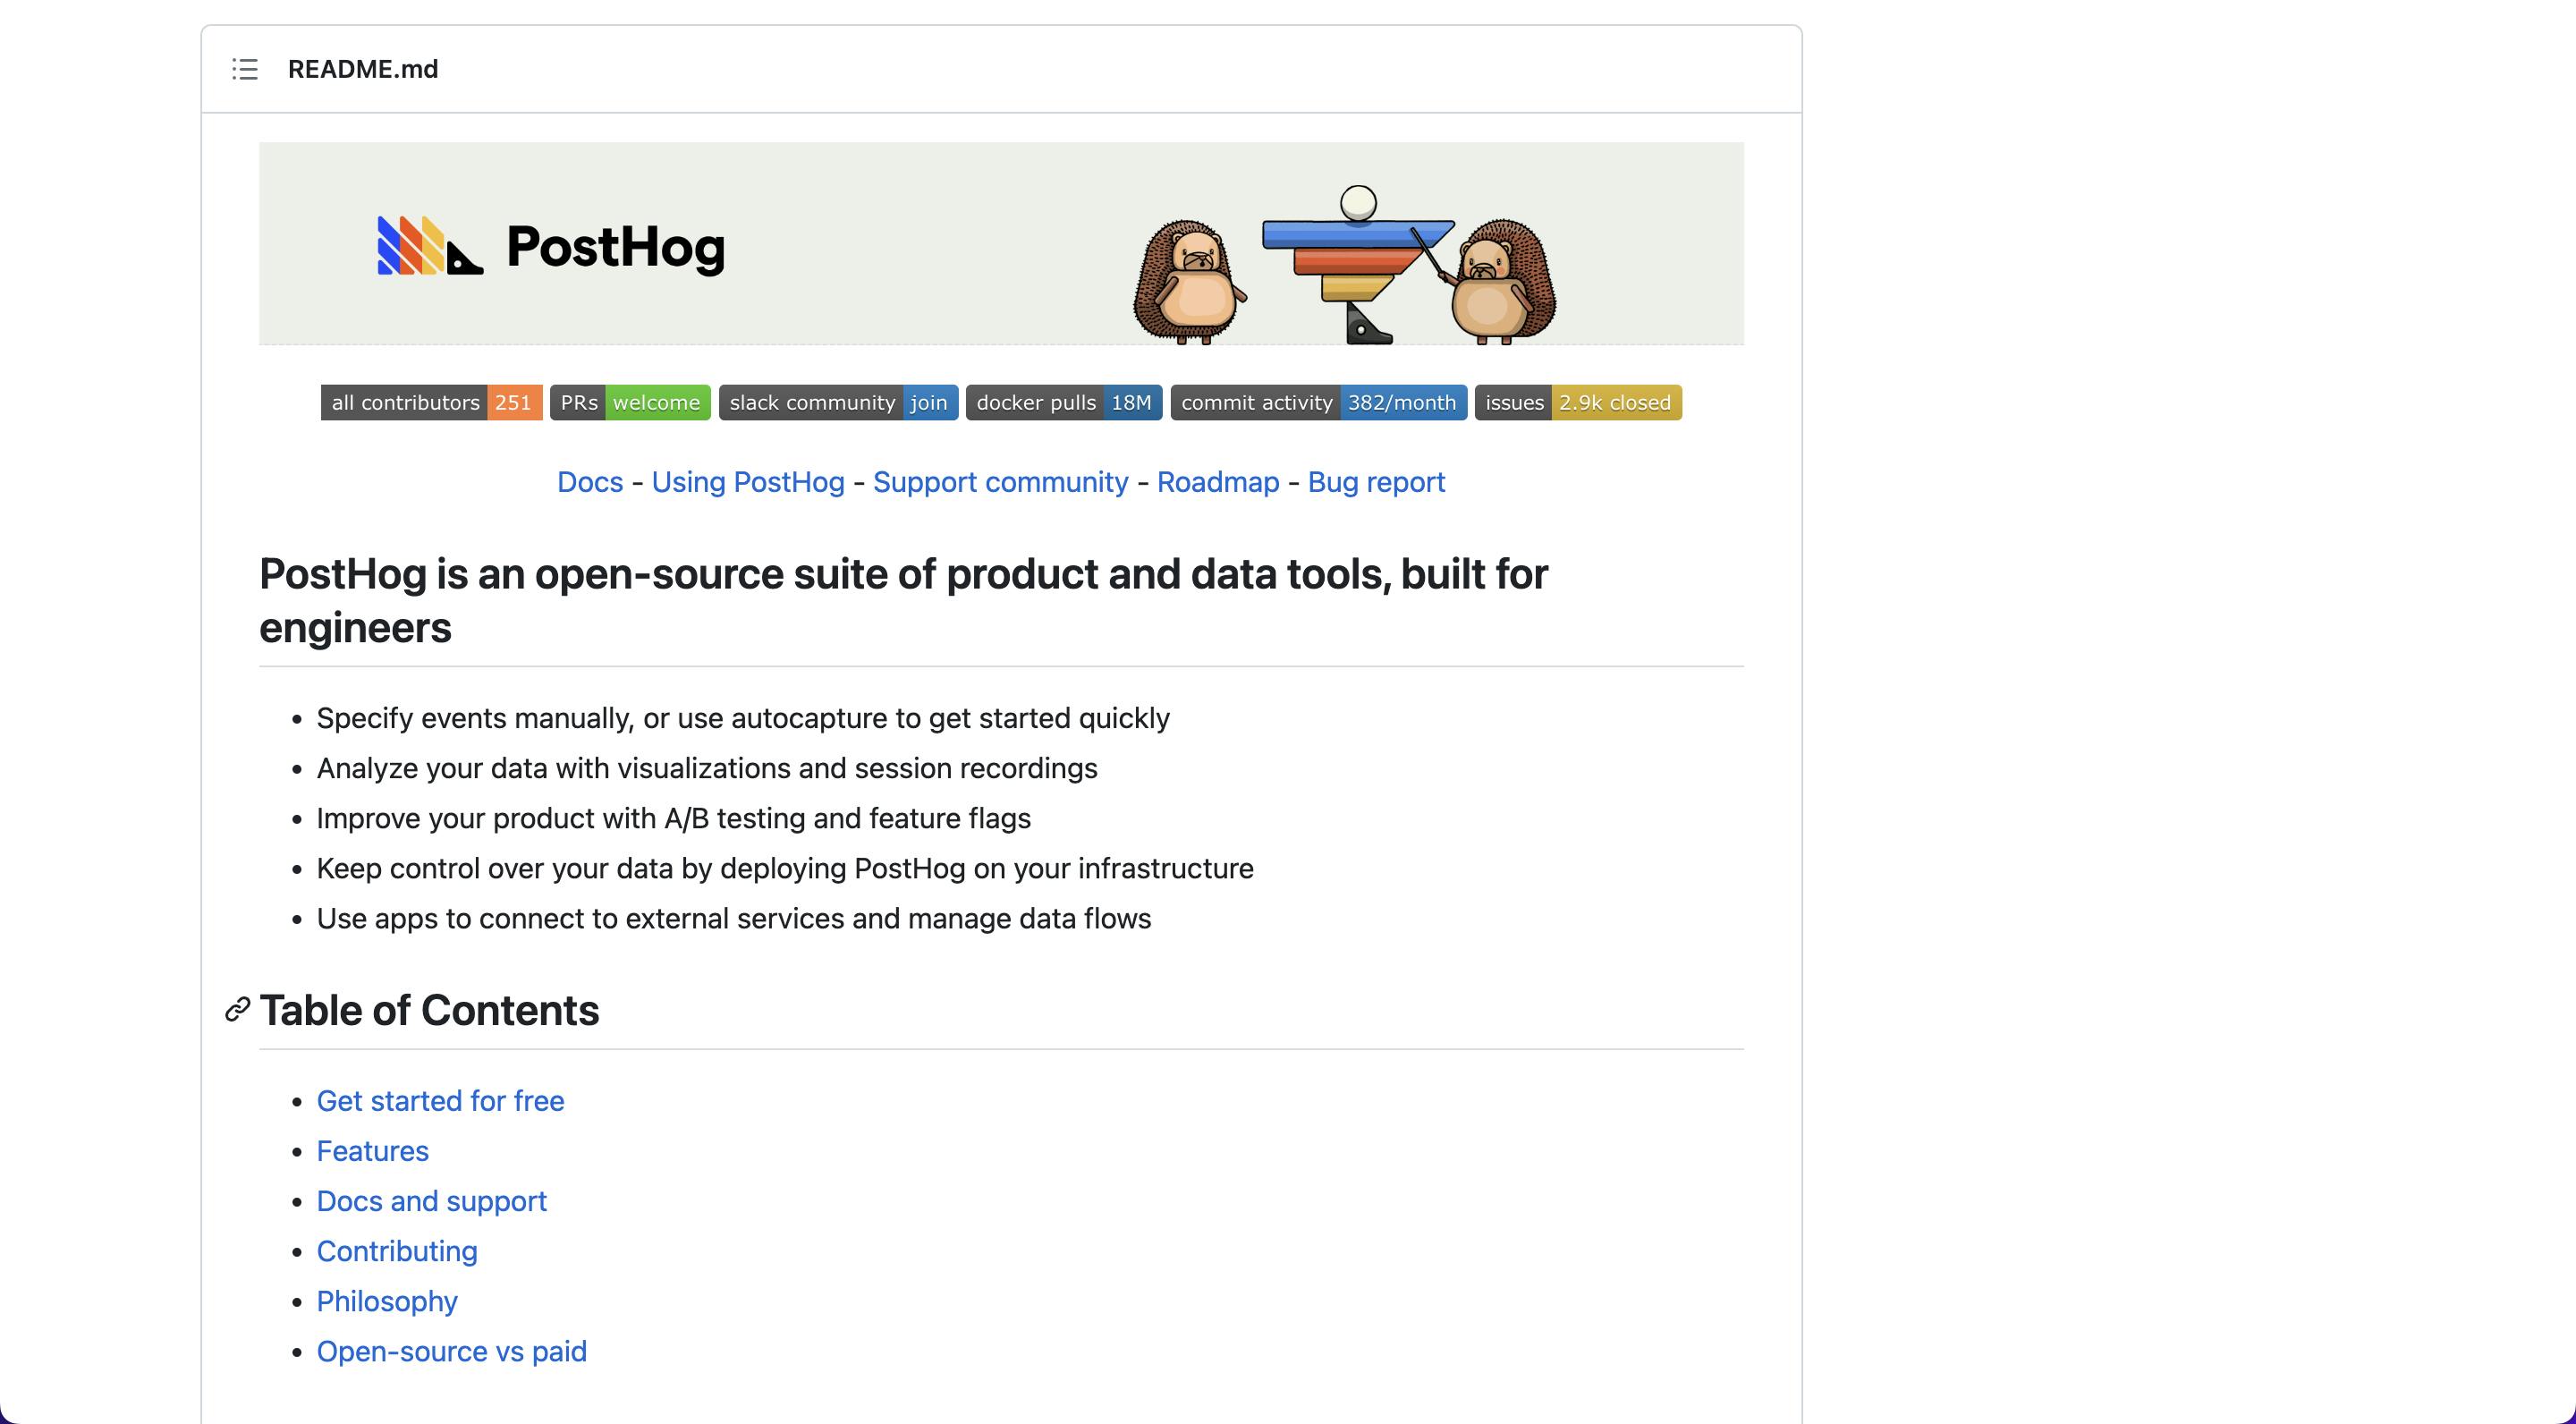

Now if you take a look at these two READMEs, which one is better? In my opinion, using banners makes them look more attractive and awesome.
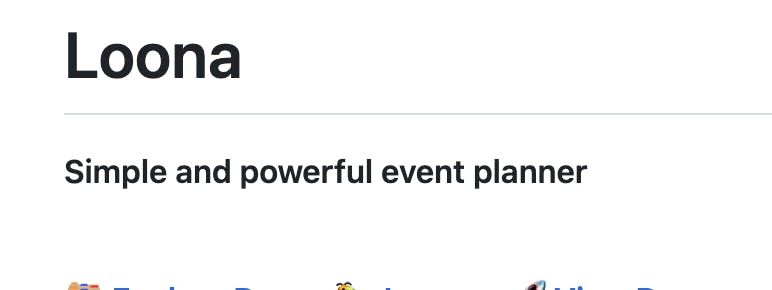
Add a title
Next is adding the project title. Ensure you give a clear title so the user can easily capture the repo by name. To make something easy, I use the project name or the purpose. For example
Drillu
NestJs API Helper
To name your project, this depends on your preference or need. So don't think too much about this little name.
Add short description
Before beginning to fully let the user know about the short bio for your project, For example, you have a project that contains a library for 'automate post'. You can create a short description from the context. e.g., "powerful and simple automated cross-post in Hashnode, Medium, and dev.to.".
So the user knows exactly what the project is without needing to read all of the documentation and instructions.
Add badges
Another cool thing I added to my project are status badges. This is not necessarily important, but it can give your audience a little expression about the project status. You can show your code size, build status, test status, and integrations.
The most important thing is that this feature is updated automatically through your processes, issues, requests, and events. If you're quite interested in adding this feature to your README, please check out Shield.io to create your own badges.
Here is how your project will look when using badges, Look cool, right?

Add important links
Another tip for you is to add some links that are quite important to the user. This can include the demo, issues, status, website, community, roadmap, and feature requests.
This is kind of helpful for your users to navigate faster. This feature is optional; however, I prefer to add it if there are important links.

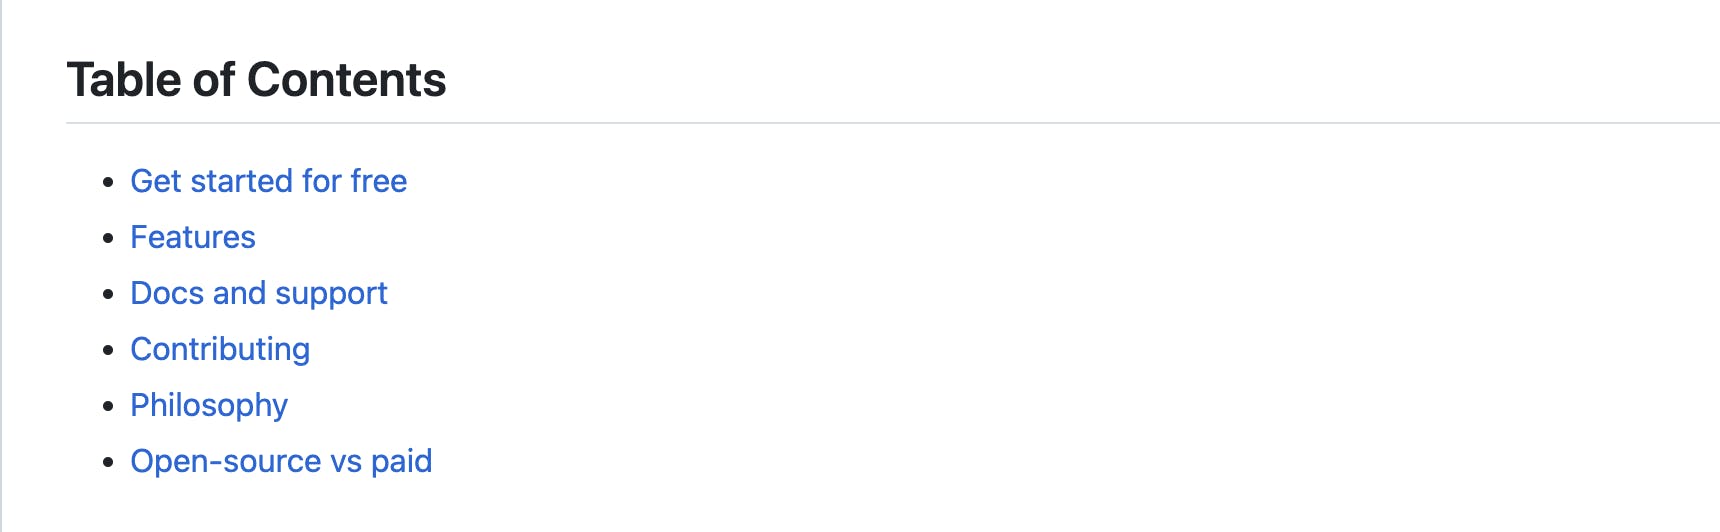
Table of contents
If your project documentation is very long or sometimes has different sections and nested contents, I prefer to use a table of contents; this can help your reader move faster by just clicking on your navigation menu.
About projects
Before starting on another level, I first added a simple description, followed by a strong definition of what the projects are. This is the longer version of the short description. You can add several pieces of information inside the about section, including:
Backgrounds
Motivation to create the project
What is the project aimed to
The purpose of projects
This part is very important, in my opinion. We need to guide the user to understand what the project is before they can use it or contribute to it. Here is an example

How to get started and run
If your project contains a project that can run on a local machine, you better add instructions about how to get started with this project. This can include points like:
Requirements - Before started what, what stack or dependencies should be installed
Instructions - Step by step to running the application locally
Note - Some important information when starting the app on the local machine
This section is very important; sometimes a beginner developer is not familiar with your application. Of course, they don't know how you make the project. That's why we need to guide them with special instructions to help them run the project.
If you have other links about how to get started, all you need to add are the links. So the user can view the better instruction

Acknowledge
Sometimes your project's readme needs to add detailed information about your project and allow the user to peek at what exactly you're doing. This section can be include some section parts like
Feature - Tell what feature, problem solving in the project
Reference - If your project is get inspired by another project explain the chronology, or give a link to it
Tech stacks - Give the user top level information about what technology you're using the build the awesome projects
Scrennshot: Add some visual references to your project. This can be your app design or overview
Supports
If your project becomes bigger or more popular, start by adding a support section. There are a wide range of ways people can help your project. There are several you can add to support including
Contributors: List or add links to people who are building the project with you, helping you fix issues, or adding features.
Sponsors: Some people or companies that spend money to invest in your project You can add the links, images or mention it
Contributing guides
Guide some people who want to contribute to your project by adding this section. So people can understand your behavior and some rules when working. You can also mention some documents that cover this information.
Inside your contribution, you may also find some guides, like a code of conduct or changelog.
Roadmaps
If your project is being developed or is in progress, start by adding the roadmap or mentioning some document to let other people know what you or your team will do next.
Credits
If you create the project as a team, start mentioning your team in their account. Social media or email. You should care about your team's hard work; by mentioning them, you will help them become popular and gain a great reputation.
License
Tell the people what they can and can't do with your project. This can be the last part of the README. There are some licenses that you can choose for your open-source project. Of course, it depends on your preferences.
If you wonder how to pick and use a license, this website will help you pick the right license. Navigate to https://choosealicense.com/
Now, from the content above, you can add a better readme. I have some references or examples of the great readme that might help you out. You can see here
If you have any ideas or think something is missing in the post above, please comment below and let me know your amazing opinion.