


Ok, welcome to this article I just want to share how I make the REST API using NodeJS, MongoDB, and Express. In this article, you will learn how to create a basic CRUD API and then test the API using Hoopscotch.io. This content is just basically the next day I will create more content about making API and securing node js applications.
So with that said, let's get started
Prerequisites
Before building this API, we need to ensure some dependencies already run on your computer including:
MongoDB
NodeJS
If you're not already installed the stack above, please follow this step and instructions. Skip this section if you're already installed
Create a Project folder and repository
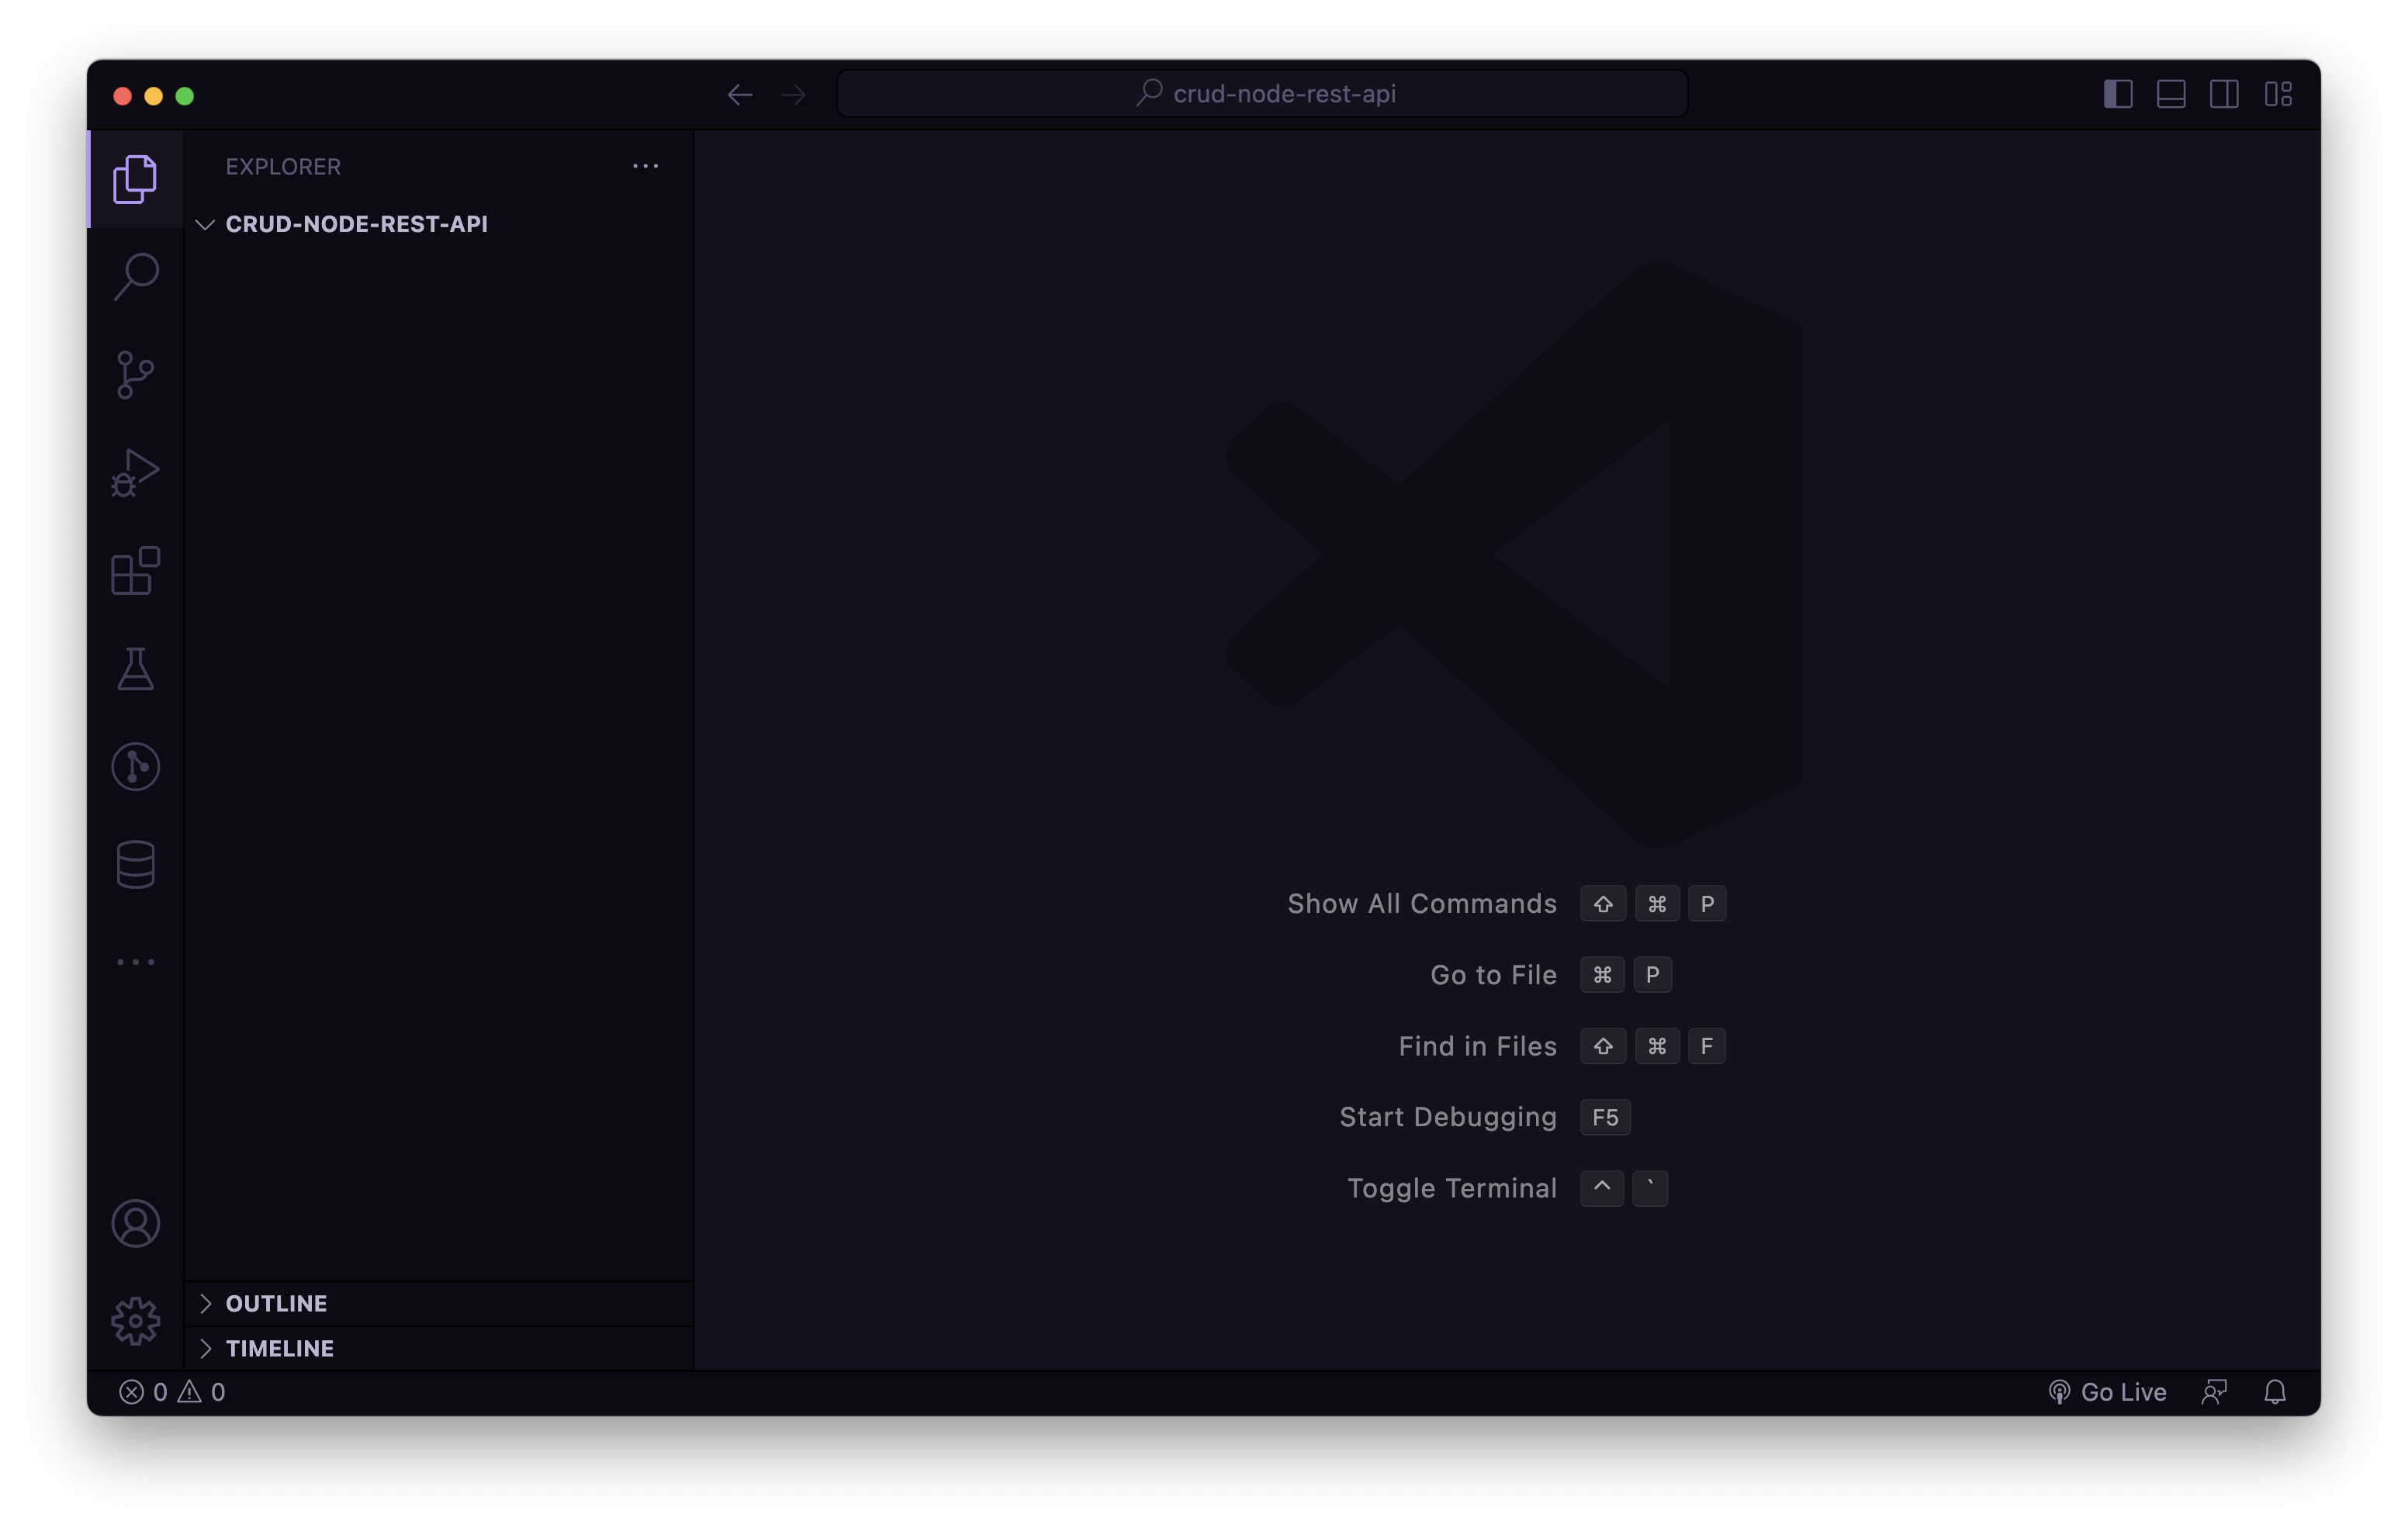
Ok, before we jump in, first we need to create the application folder for our application. Create a new folder called node-crud-rest-api. Open the folder using your code editor, in my case, I will use VSCode. Your project will be empty like below.
Connect with Repository
this step is optional if you want to upload your code into the repository. Create a new project in GitHub then copy the git URL.
Create a new file called '.gitignore', this file is used to handle and manage the files which one should include and exclude in git. This is useful when you're not want to expose your file to the public repository.
Add this content to your .gitignore file
# Ignore som fike for your repository
/node_modules
*.env
.env
Now with this code when you add the file using git the node_module folder, and the env file will not be included.
Now open the terminal and connect your local to the remote repo
# Create git project
git init

# Connect your local repo and remoteg
git remote add origin [YOUR REMOTE REPO URl]
Clean Code (Optional)
If you need to clean your code use the prettier. Install the prettier extension, then create a .prettierrc file. Place this code inside
{
  "semi": false,
  "singleQuote": true
}
Initialize Node Project
Initialize the node project by running this command in your terminal. This will create a project initialization and generate a new file called package.json
# Create node project by running this command in terminal
npm init -y
Now let's update the script of your package.
{
  "name": "crud-node-rest-api",
  "version": "1.0.0",
  "description": "",
  "main": "src/index.js",
  "scripts": {
    "dev": "nodemon src/index.js",
    "start": "node src/index.js"
  },
  "keywords": [],
  "author": "nyomansunima",
  "license": "ISC"
}
Install Dependencies
Install some dependencies to run the application including:
express (A small Framework that allows creating REST API)
mongoose (Library to connect MongoDB and create object mapping)
morgan (A middleware to create HTTP Log when your API is accessed)
helmet (Secure your API from Script attack in the header)
nodemon (Allow to restart your server when the code is changed)
express-brute (Limiting your API access from the same API to avoid brute force)
dotenv (Allow to access the variable from .env file)
body-parser (Parse the response body using json)
cors (Allow to sharing the resource from different origin in browser)
Now open your terminal and run this command to install dependencies.
# Install deps
npm i -S express mongoose morgan helmet express-brute dotenv cors body-parser

# Install deps in development
npm i -D nodemon
Create folder workspace
Now to manage and separate our code is to create a separate folder for a different purpose, you can follow some architecture. but in this case, I just use the simple one.
Create the folder using this pattern
src (all of your code is placed here)
controllers (manage the app routes)
services (separate the business logic and function here)
models (payload, database model, and other classes)
utils (place all your utils code here)
Add Environment variable
Create a new file in the root folder called .env. Inside this file will store some data and keys for the application including the database, port, and others.
# APPLICATION SETTINGS
PORT = [YOUR_APP_PORT]

# DATABASE CONNECTION
DATABASE_PORT = [YOUR_DATABASE_PORT]
DATABASE_NAME = [YOUR_DATABASE_NAME]
DATABASE_URL = [YOUR_DATABASE_URL]
DATABASE_USER = [YOUR_DATABASE_USER]
DATABASE_PASS = [YOUR_DATABASE_PASS]
Now, let's change some variables using your own.
Add the Database Model & Connection
Create a new file inside the utils/ folder and named it as
database.js, then add this code inside.const mongoose = require('mongoose') async function connectDatabase() { try { await mongoose.connect( `mongodb://${process.env.DATABASE_URL}:${process.env.DATABASE_PORT}`, { dbName: process.env.DATABASE_NAME, auth: { username: process.env.DATABASE_USER, password: process.env.DATABASE_PASS, }, } ) console.log('🍔 Database Connected') } catch (error) { console.log('Opps, failed to connect database') } } module.exports = { connectDatabase, }Connect the database, variable that we created before in
.envfile. This code will be used in the index.js file later. But for now we focus on database first.Create a new file called
user.jsinside the models folder, this will be the user schema and all of the user informationconst { Schema, model } = require('mongoose') const UserSchema = new Schema( { name: String, email: String, username: String, bio: String, }, { timestamps: true } ) const UserModel = model('User', UserSchema, 'users') module.exports = { UserSchema, UserModel, }You can also create another model and schema using another file. This will help you to create a clear code splitting. In this example I just add simple user information, you can add what you want.
Create Service
Service is used to handle all of the logic for the user, including manipulating, generating, and so on.
Create a file called user.js then paste this code inside
const { UserModel } = require('../models/user')

class UserService {
  async createUser(body) {
    const newUser = new UserModel(body)
    const res = await newUser.save()
    return res
  }

  async updateUser(id, body) {
    await UserModel.updateOne({ _id: id }, { ...body })
    const res = UserModel.findById(id)
    return res
  }

  async deleteUser(id) {
    await UserModel.deleteOne({ _id: id })
  }

  async listUser() {
    const res = await UserModel.find()
    return res
  }

  async findUser(id) {
    const res = await UserModel.findById(id)
    return res
  }
}
const userService = new UserService()
module.exports = userService
You can see some function is all about the user with simple operation to create, update, delete, and list the user. We just need to call the `UserModel` and then use the predefined function from the mongoose object. You also can create a custom one like adding authentication and so on.
Create Controllers
Create a new file called user.js inside the controllers folder then put this code inside
const userService = require('../services/user')

class UserController {
  async createUser(req, res) {
    const body = req.body
    res.json(await userService.createUser(body))
  }

  async updateUser(req, res) {
    const body = req.body
    const id = req.params.id
    res.json(await userService.updateUser(id, body))
  }

  async deleteUser(req, res) {
    const id = req.params.id
    res.json(await userService.deleteUser(id))
  }

  async findUser(req, res) {
    const id = req.params.id
    res.json(await userService.findUser(id))
  }

  async listUser(req, res) {
    res.json(await userService.listUser())
  }
}

const userController = new UserController()
module.exports = userController
The controller is a mapping from the route and the service. We also can handle some exception manuals or use third-party middleware. Send the result using the `res.json` function.
Handle the API Routes
Create a new file called `routes.js` inside the src folder. Then put this code inside.
const express = require('express')
const userController = require('./controllers/user')

// define the application router
const router = express.Router()

// add the user routes
router.get('/user/list', userController.listUser)
router.get('/user/:id', userController.findUser)
router.post('/user', userController.createUser)
router.put('/user/:id', userController.updateUser)
router.delete('/user/:id', userController.deleteUser)

module.exports = router
Now mapping the route with the controller. By using this way your code will look cleaner.
Bootstrap the app
Now after all we need is created, we can combine it all for our application. So let's create a new file called `index.js` inside the src folder. This file becomes the main file to run using nodejs.
Import for all dependencies, router, and database connections.
  const express = require('express')
  const morgan = require('morgan')
  const helmet = require('helmet')
  const { config } = require('dotenv')
  const bodyParser = require('body-parser')
  const cors = require('cors')
  const router = require('./routes')
  const { connectDatabase } = require('./utils/database')
Now create a function to bootstrap the application.
  /**
   * bootstrap all deps
   * and your app here
   */
  async function bootstrap() {
    config()
    await connectDatabase()
    const app = express()

    // add the middleware and
    // plugins
    app.use(helmet())
    app.use(morgan('combined'))
    app.use(cors({ origin: '*' }))
    app.use(bodyParser.json())
    app.use(bodyParser.urlencoded({ extended: true }))

    // all you route in one place
    app.use('/api/', router)

    // add the base response
    app.use('/', (req, res) => {
      res.send('Welcome in CRUD API')
    })

    // running the application
    // on specify port
    const PORT = process.env.PORT || 4000
    app.listen(PORT, () => {
      console.log(`Application running on http://localhost:${PORT}`)
    })
  }
In this function you first need to call the config, this will load all the environment variables from `.env` file. Don't forget to use the helmet, cors, morgan, and body parser. In last you can listen to the application.
Run the application by calling `bootstrap()`. if we combine all inside the index.js file the code will look like this
  const express = require('express')
  const morgan = require('morgan')
  const helmet = require('helmet')
  const { config } = require('dotenv')
  const bodyParser = require('body-parser')
  const cors = require('cors')
  const router = require('./routes')
  const { connectDatabase } = require('./utils/database')

  /**
   * bootstrap all deps
   * and your app here
   */
  async function bootstrap() {
    config()
    await connectDatabase()
    const app = express()

    // add the middleware and
    // plugins
    app.use(helmet())
    app.use(morgan('combined'))
    app.use(cors({ origin: '*' }))
    app.use(bodyParser.json())
    app.use(bodyParser.urlencoded({ extended: true }))

    // all you route in one place
    app.use('/api/', router)

    // add the base response
    app.use('/', (req, res) => {
      res.send('Welcome in CRUD API')
    })

    // running the application
    // on specify port
    const PORT = process.env.PORT || 4000
    app.listen(PORT, () => {
      console.log(`Application running on http://localhost:${PORT}`)
    })
  }

  // run the application
  bootstrap()
Run Application
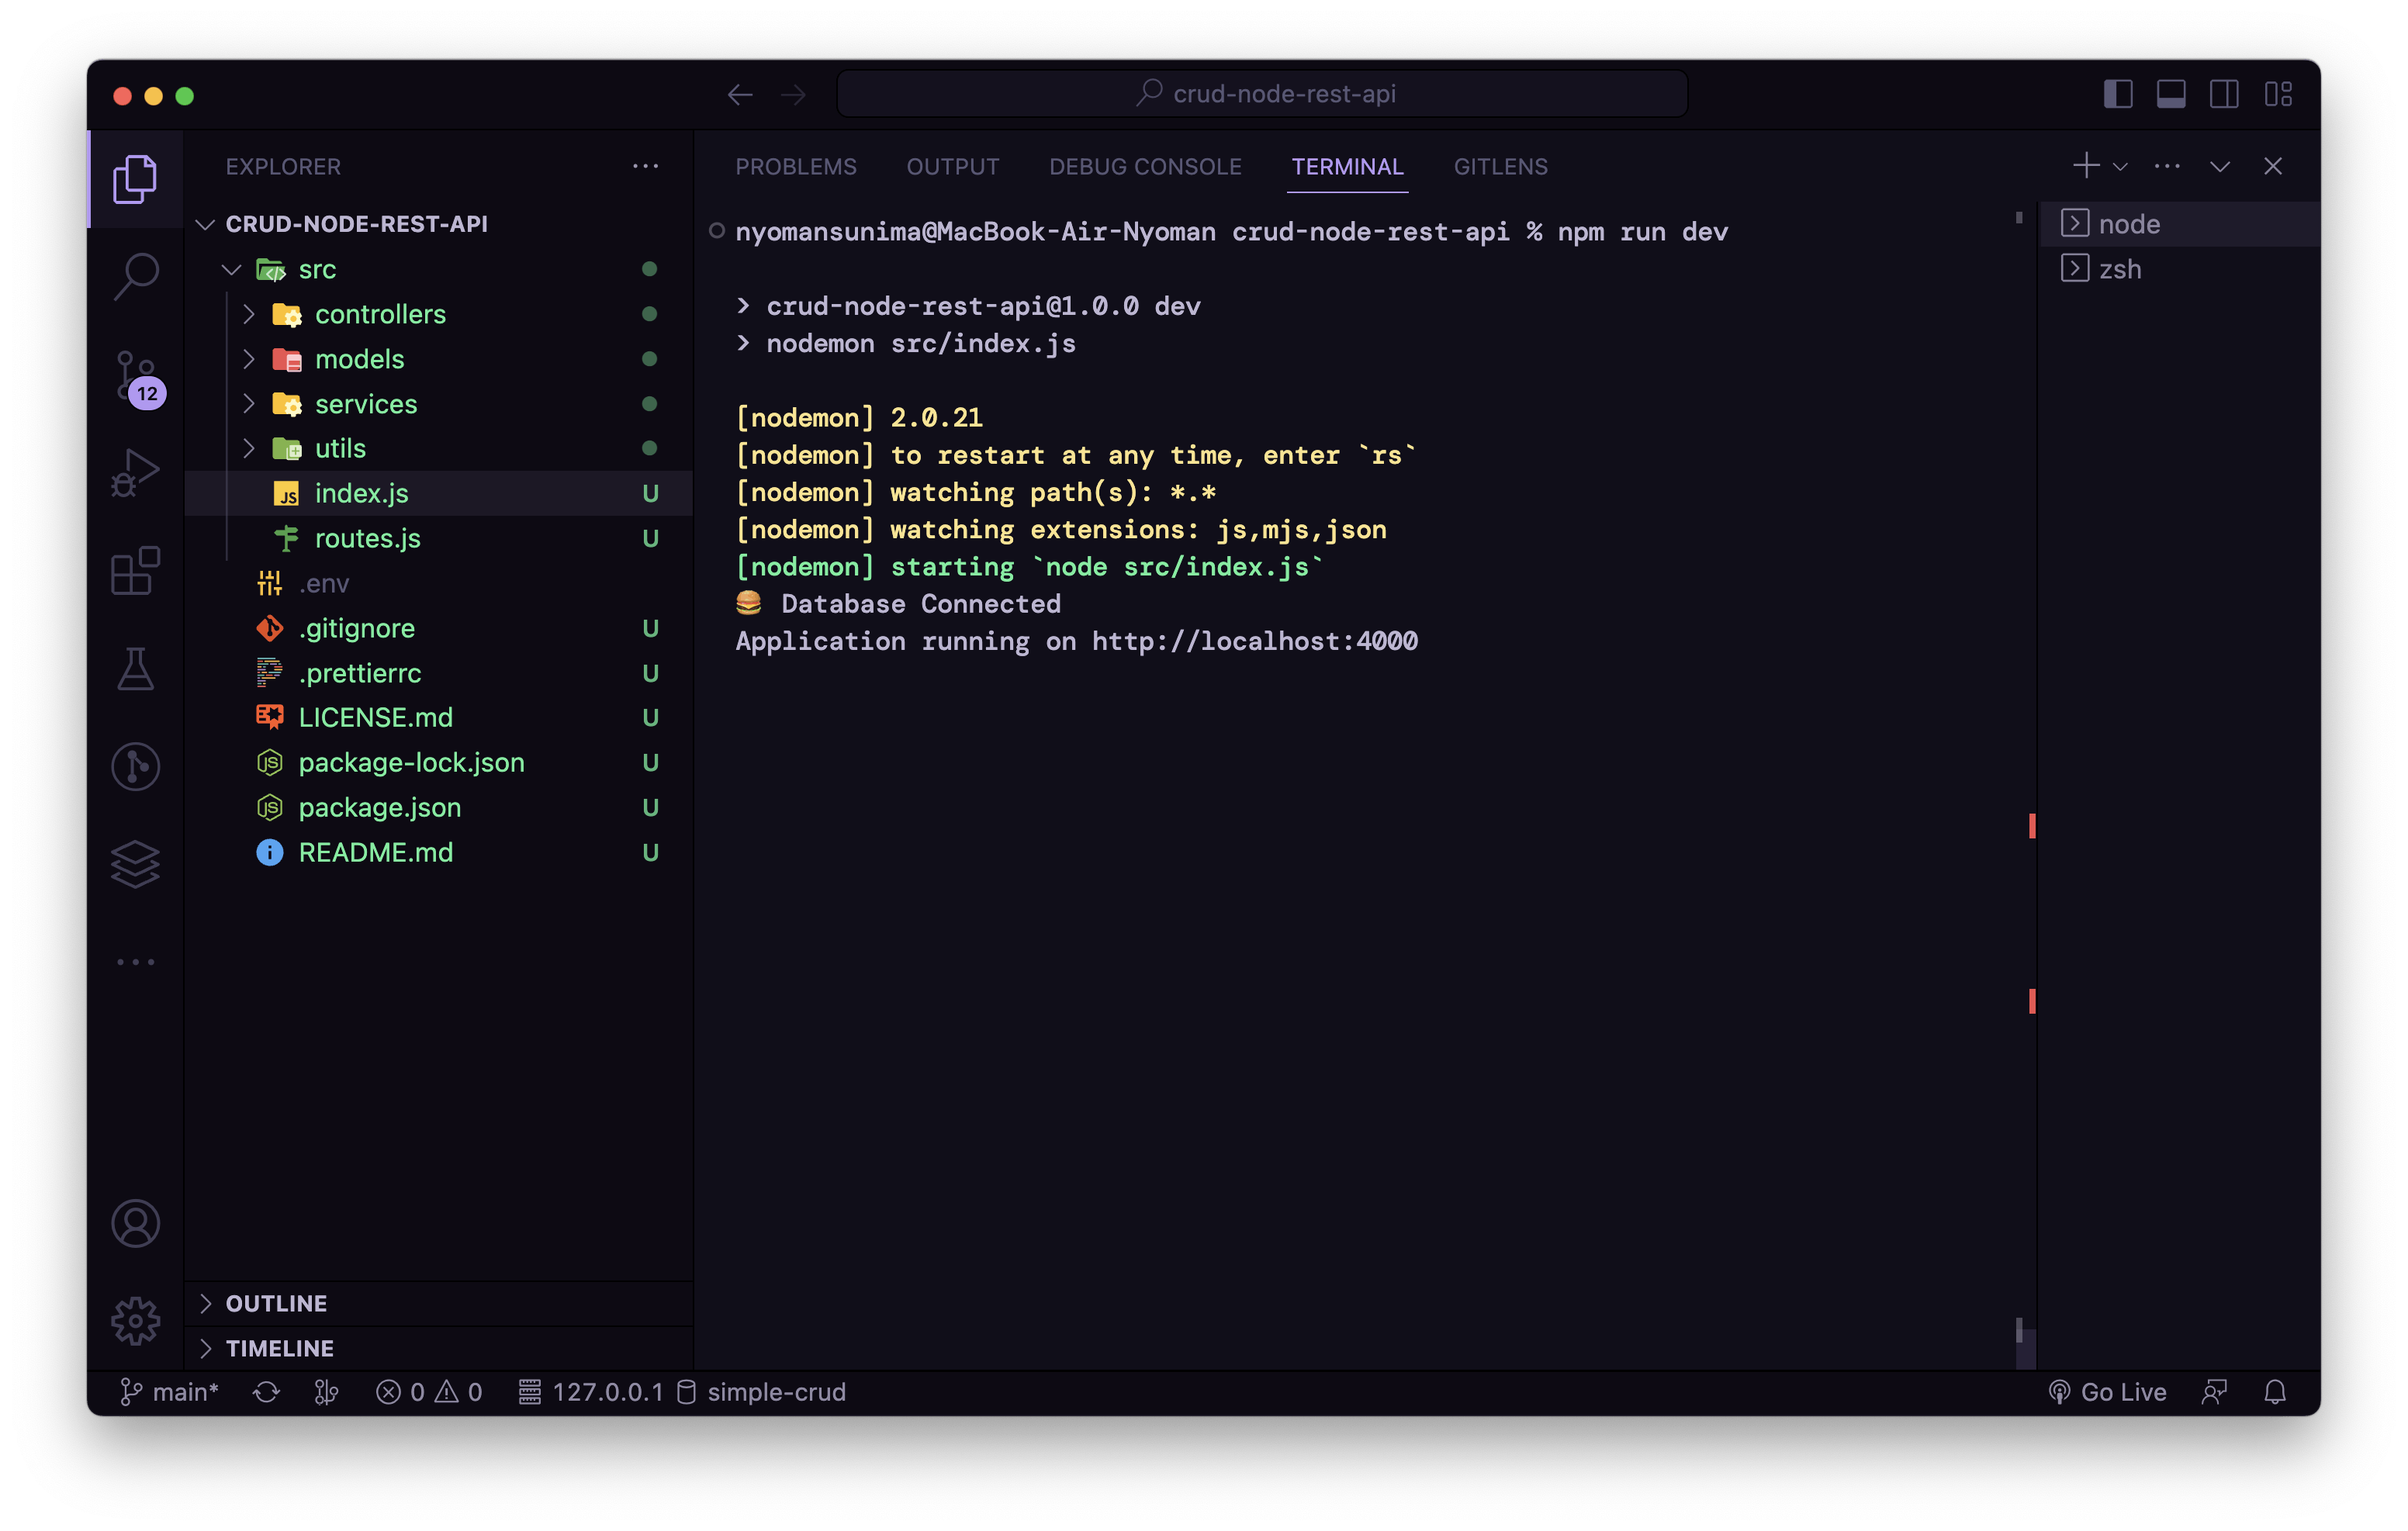
Let's go to the terminal, then type `npm run dev`. This will trigger the nodemon to watch every change in index.js file so that you can update the application automatically.
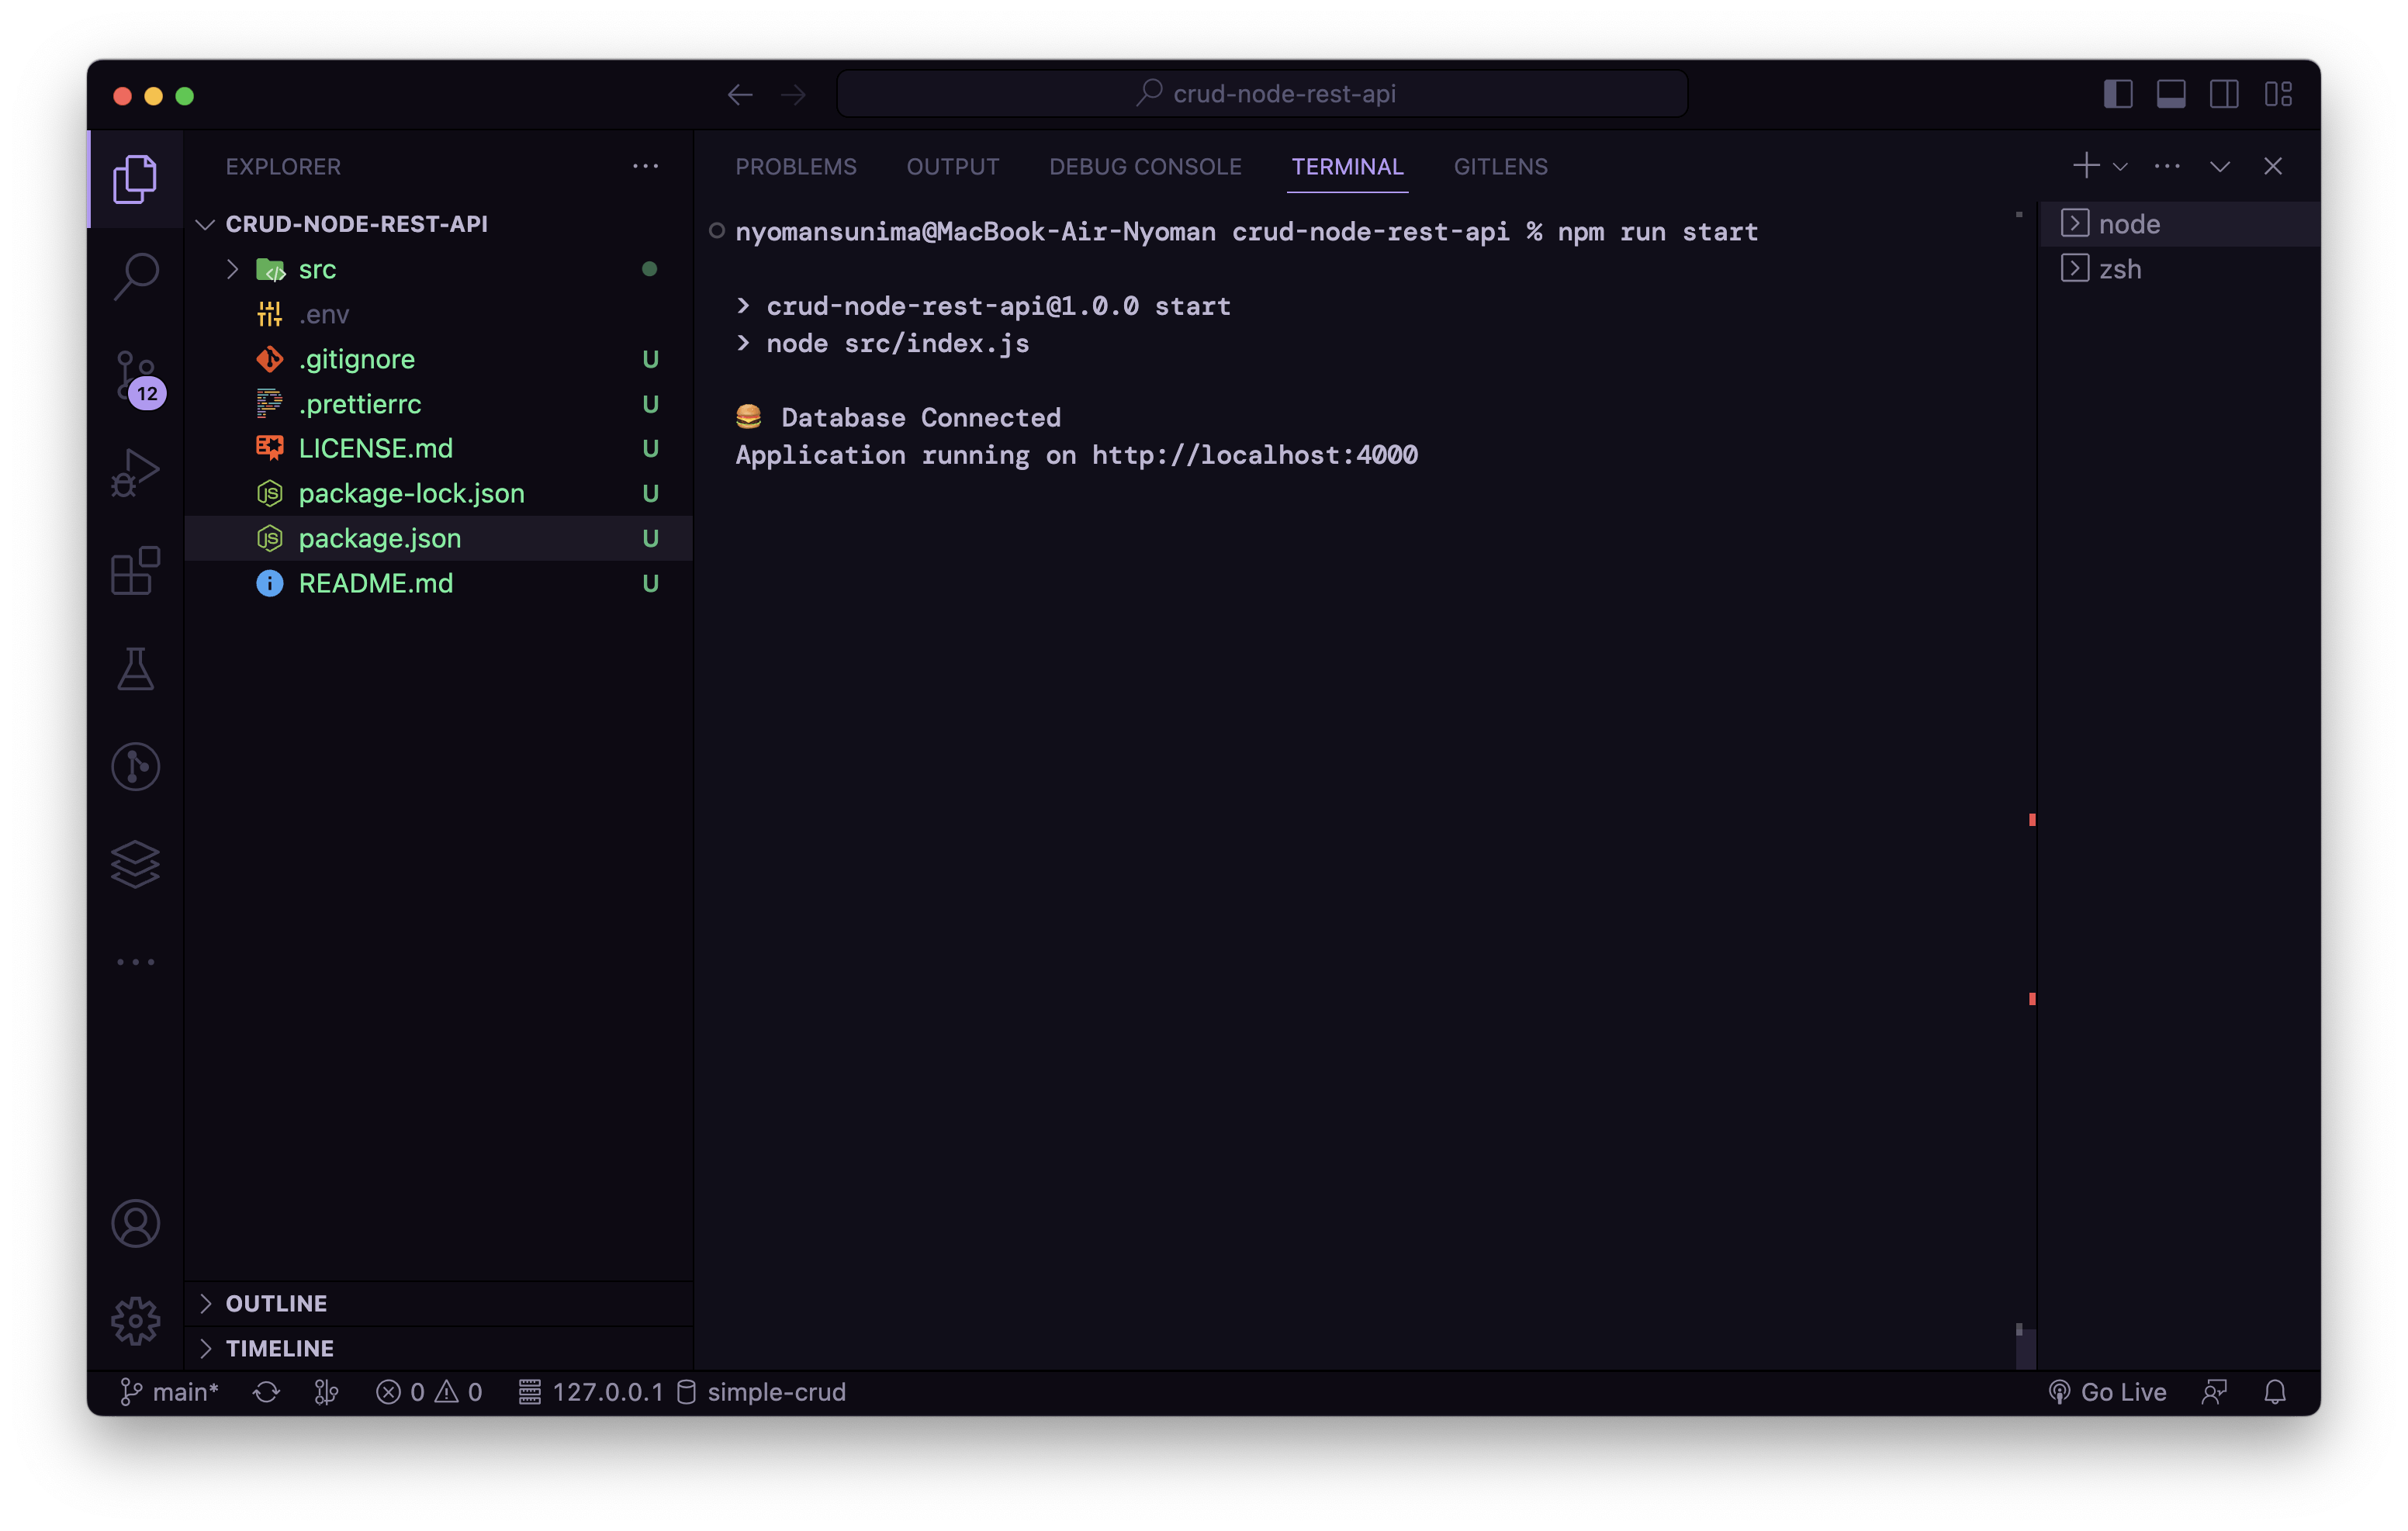
If you want to go into production when the application is complete. You can run by using `npm run start`. This will tell the node js to run the file index.js
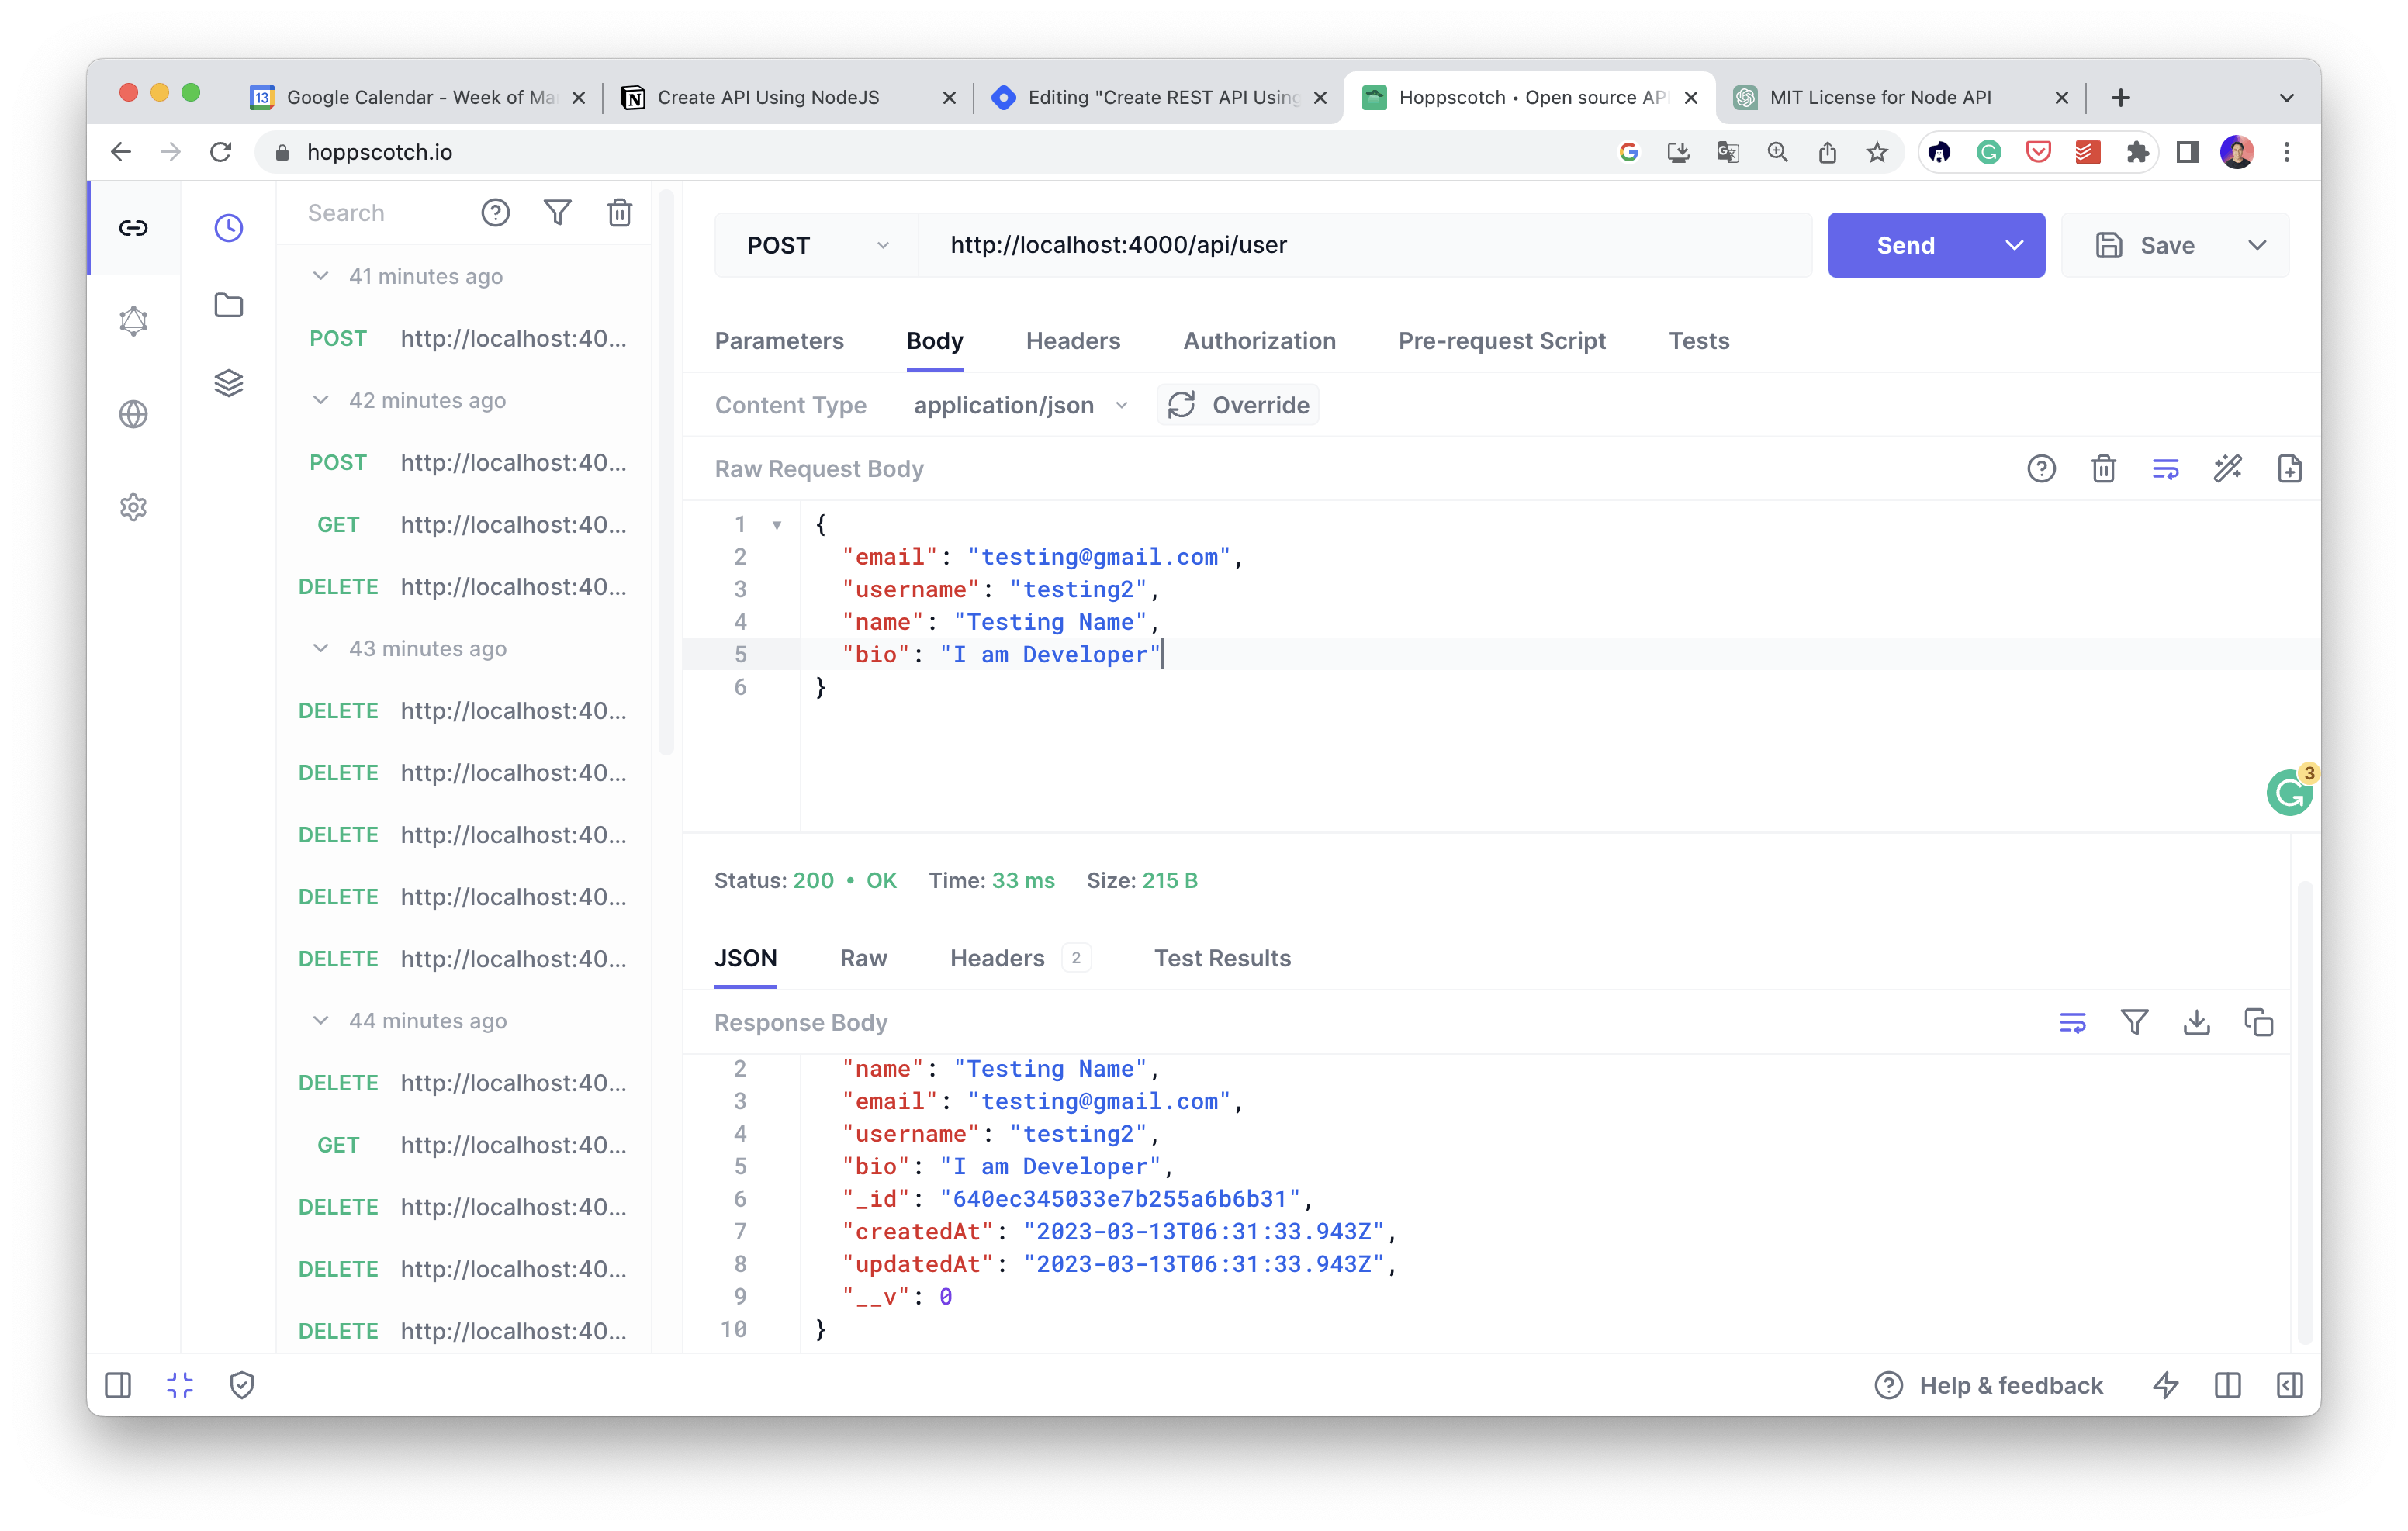
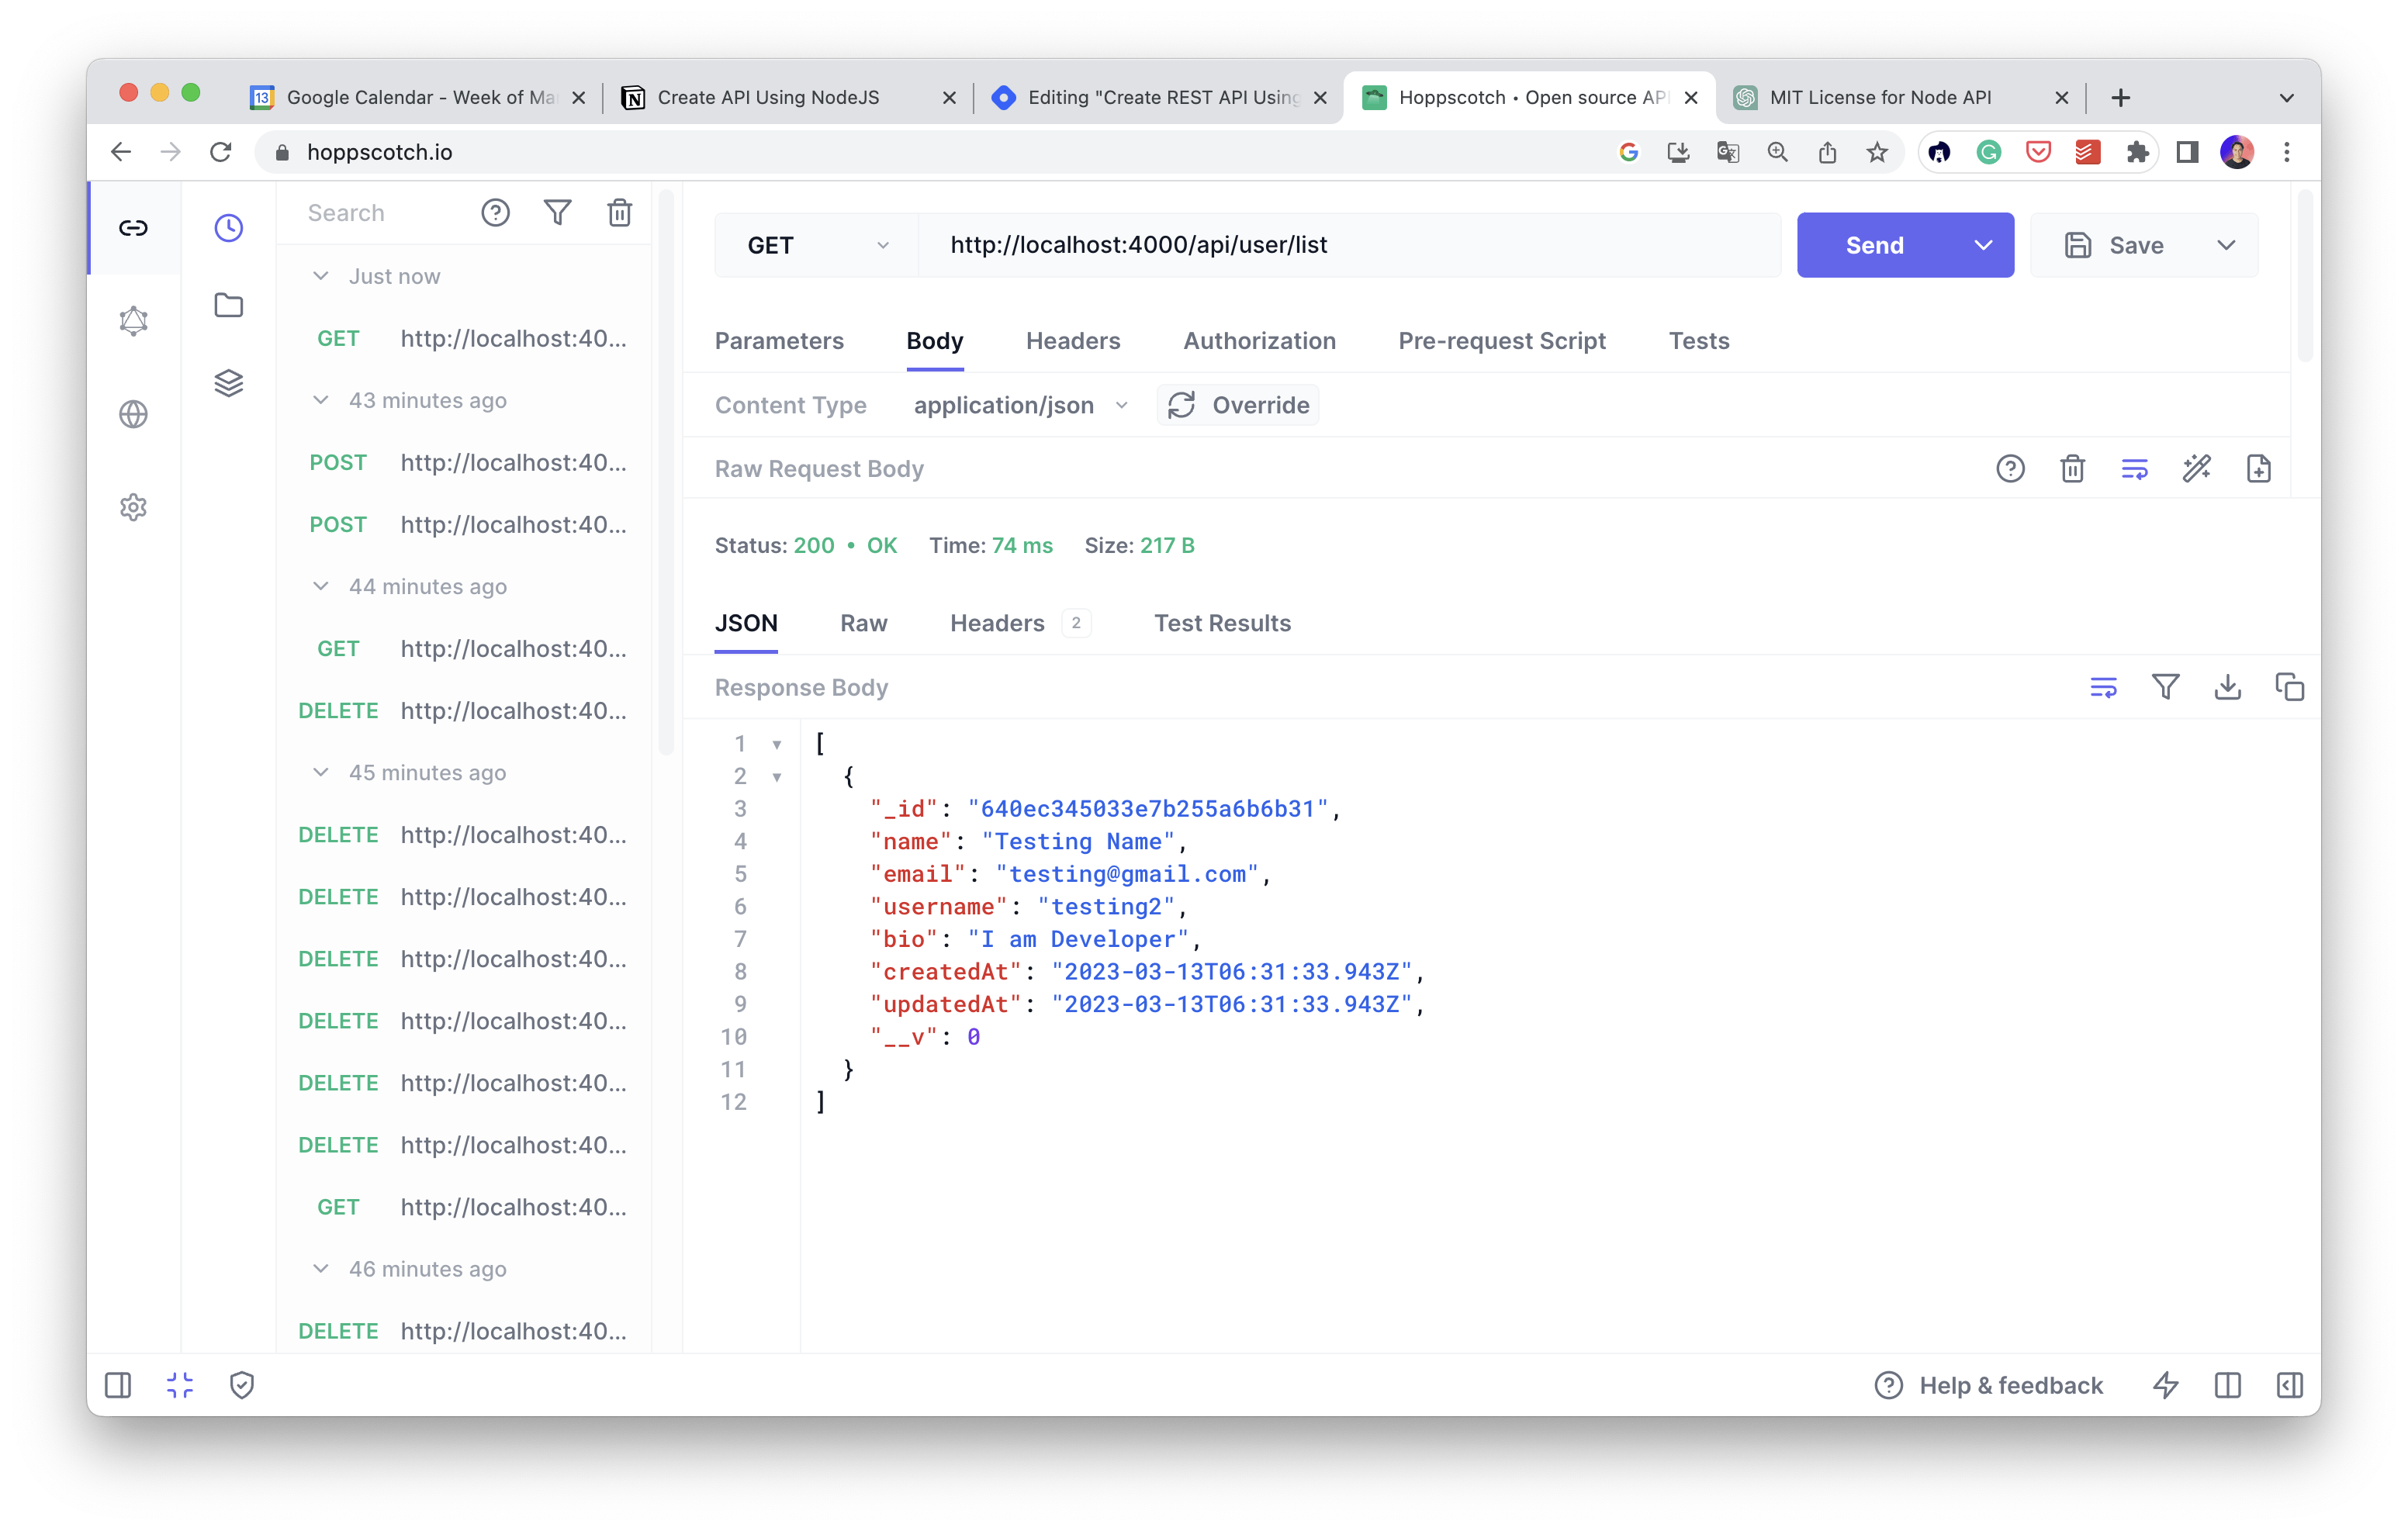
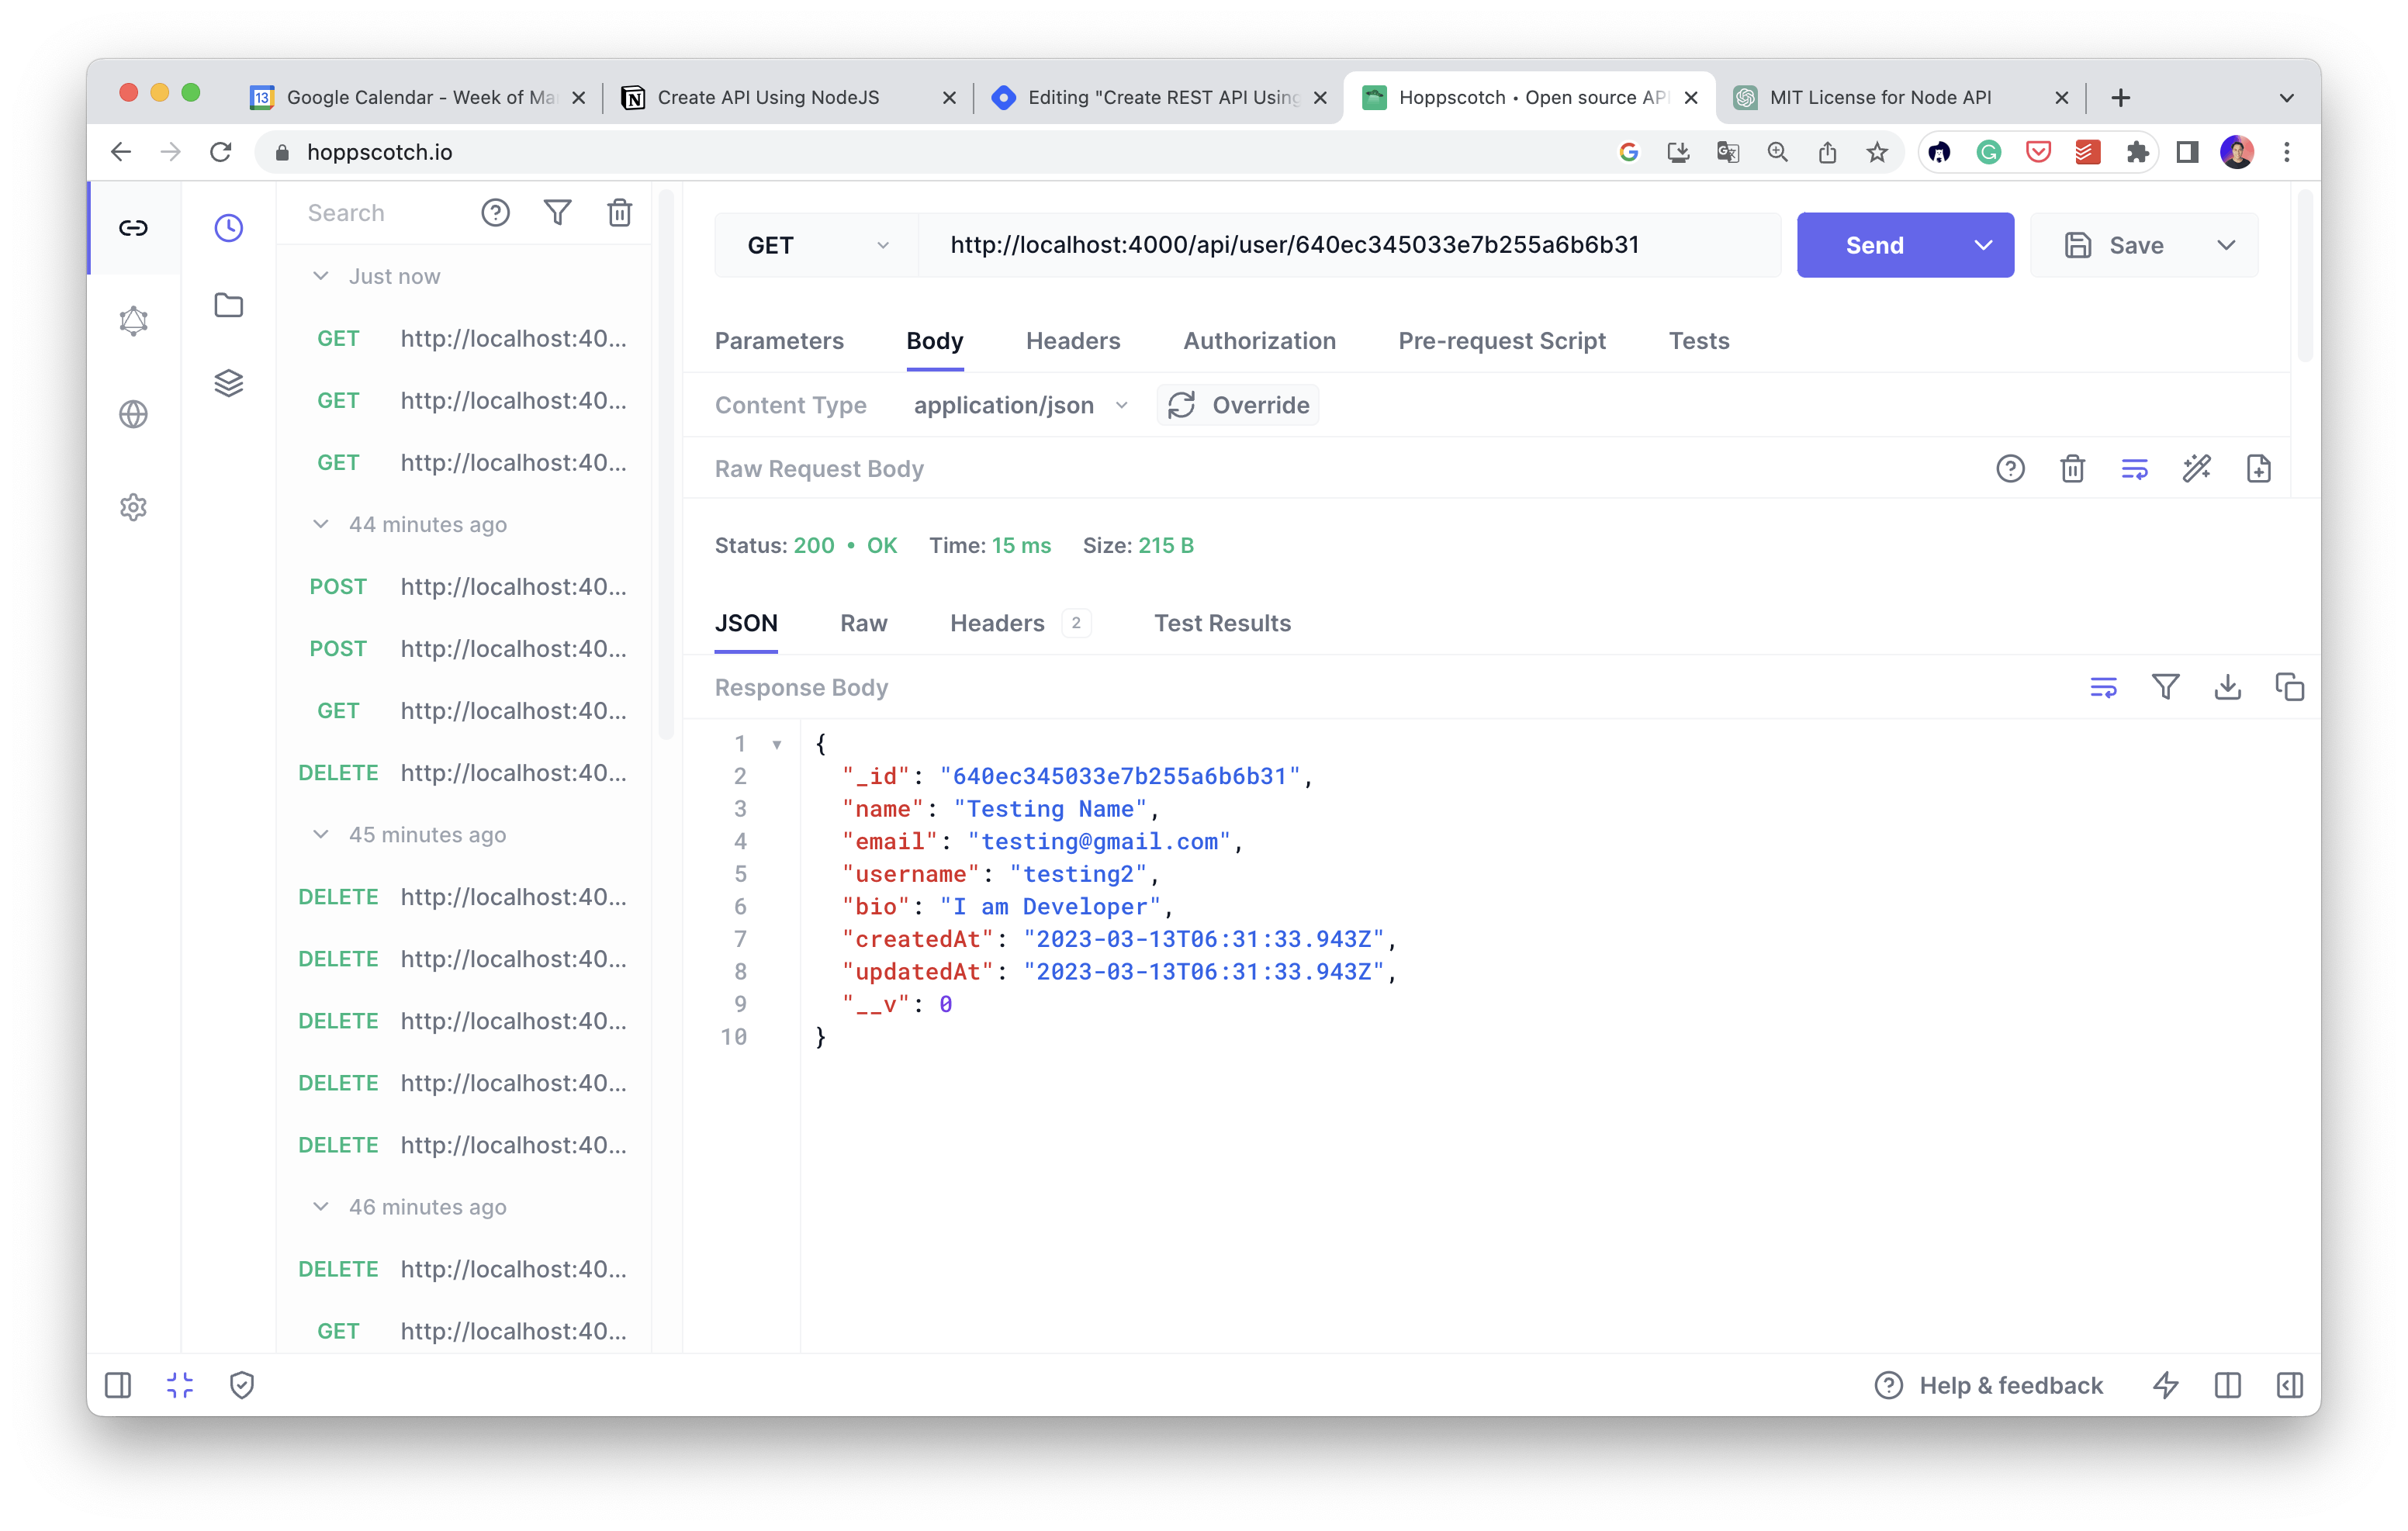
Test the REST API
Open https://hoppscotch.io/ in your browser. You can change the URL and the method to test the API. You can see the test below
Suggestion
You can clone this CRUD NODE REST API and start to run the application if MongoDB and NodeJS are installed.
This article is just a basic one. There is a lot of upgrades you can add like securing the app, Optimizing the production, and advanced combination like adding devops, and docker. So keep going, I will create another article later to cover it all until complete.